Installing the Journeys Off Road 4x4 Conversion Kit
This kit fits the 1998 to 2005 Astro/Safari vans.
This kit will work on the 1990 to 1997 with the front & rear driveshafts from a 1998 to 2005 AWD van.
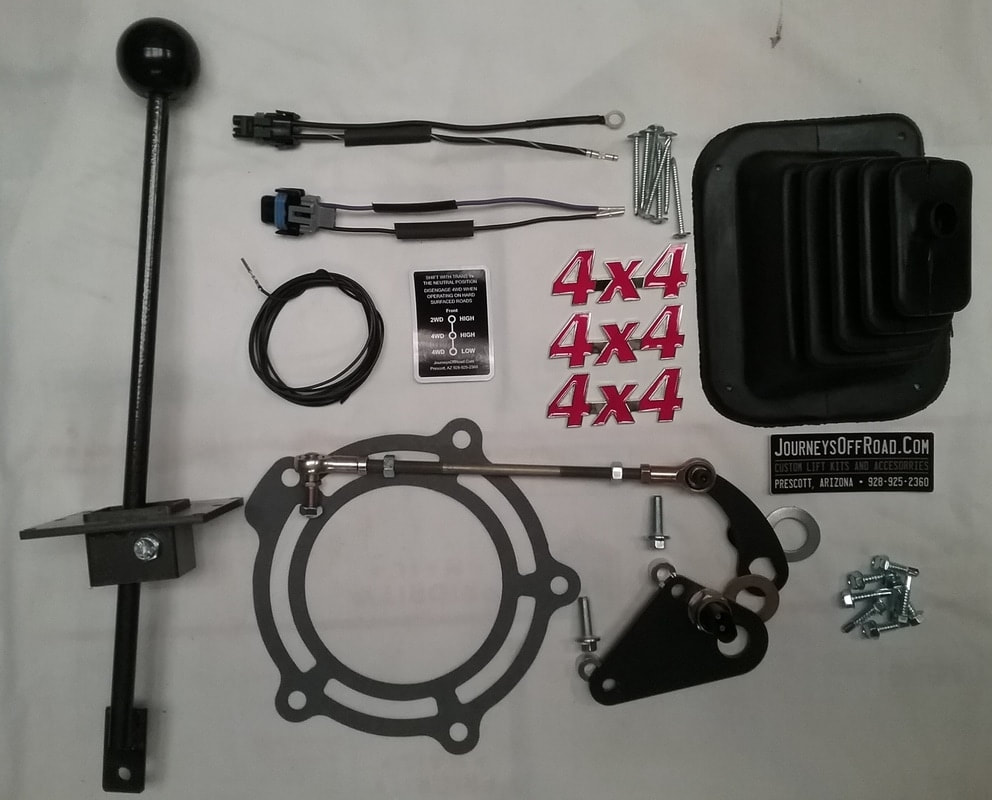
The easy, bolt in, S10 to Astro transfer-case swap gives you locking 4 high and locking 4 low, making your Astro/Safari van a true 4x4!
Although this job is being done at Journeys Off Road's shop on a lift, it can easily be done in your driveway with a floor jack, jack stands and basic hand tools in an afternoon.
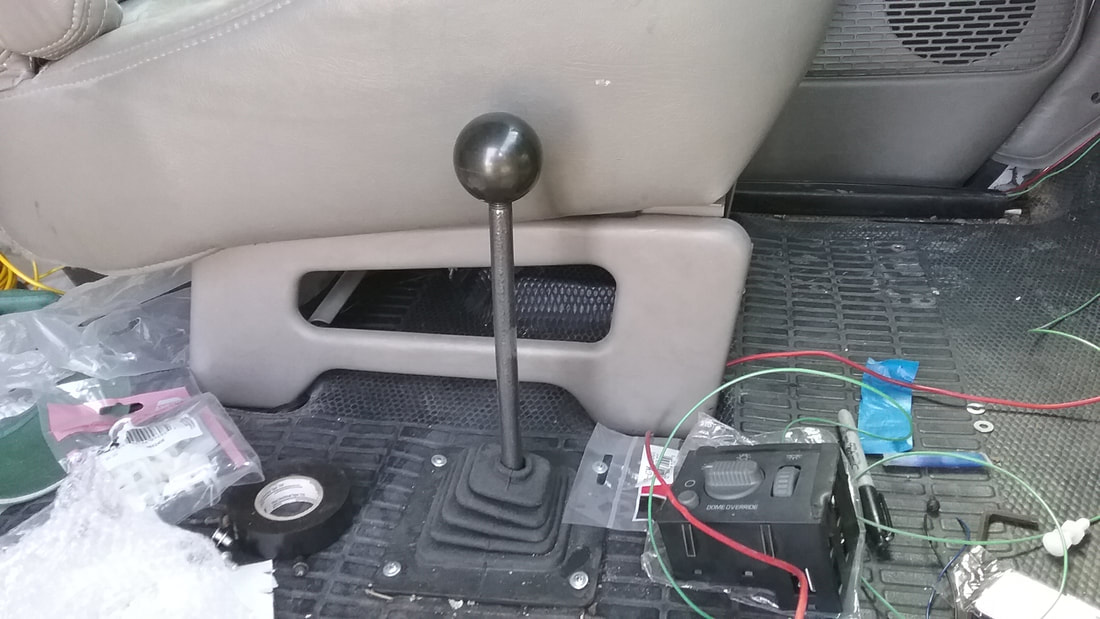
Rev.04 Floor Shiftier. Waterproof switch for low range mounts in bolt on shifting arm retainer plate.
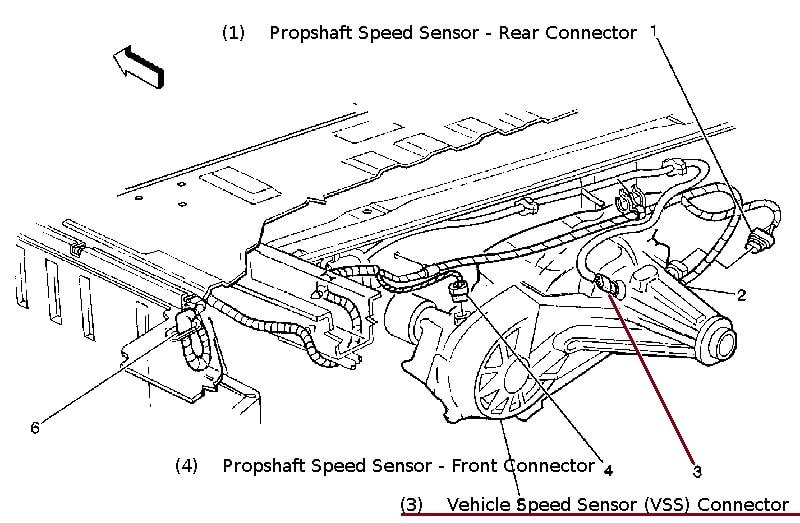
Take note of the VSS (#3 on the diagram) and mark wiring.
This is the only wiring that will be reconnected to the S10 transfercase after the AWD connector has been replaced with the new connector supplied with the Journeys Off Road 4x4 Conversion Kit.
This is the only wiring that will be reconnected to the S10 transfercase after the AWD connector has been replaced with the new connector supplied with the Journeys Off Road 4x4 Conversion Kit.
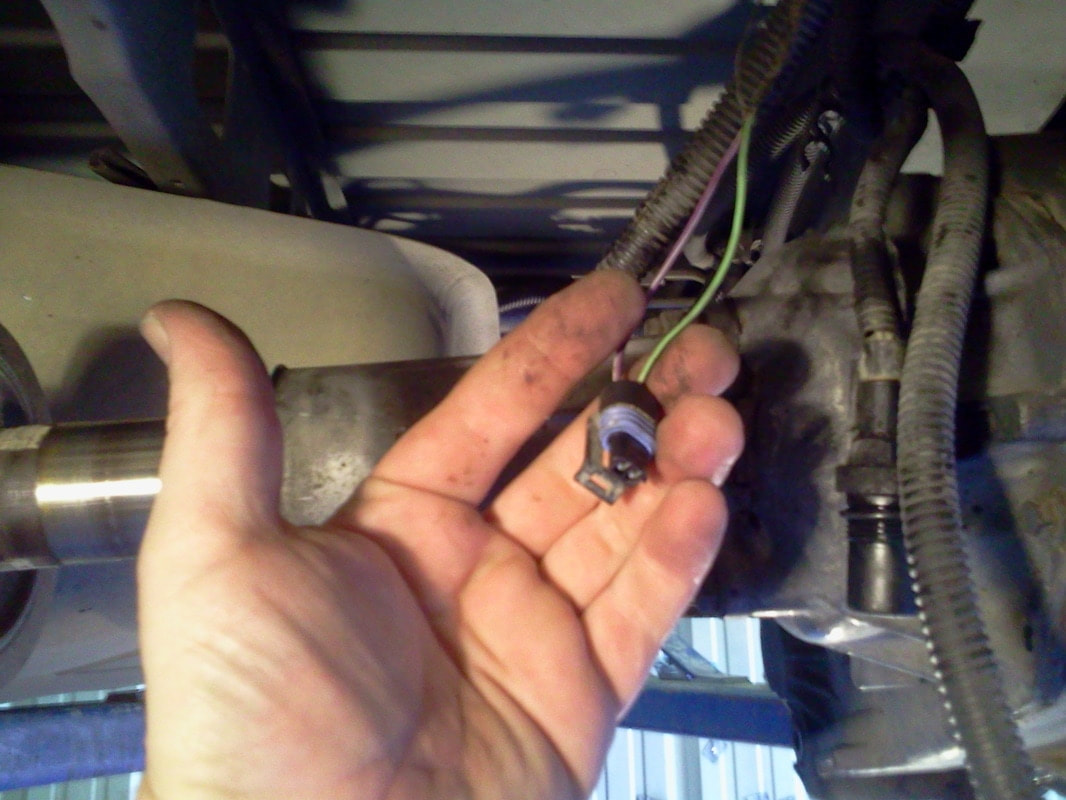
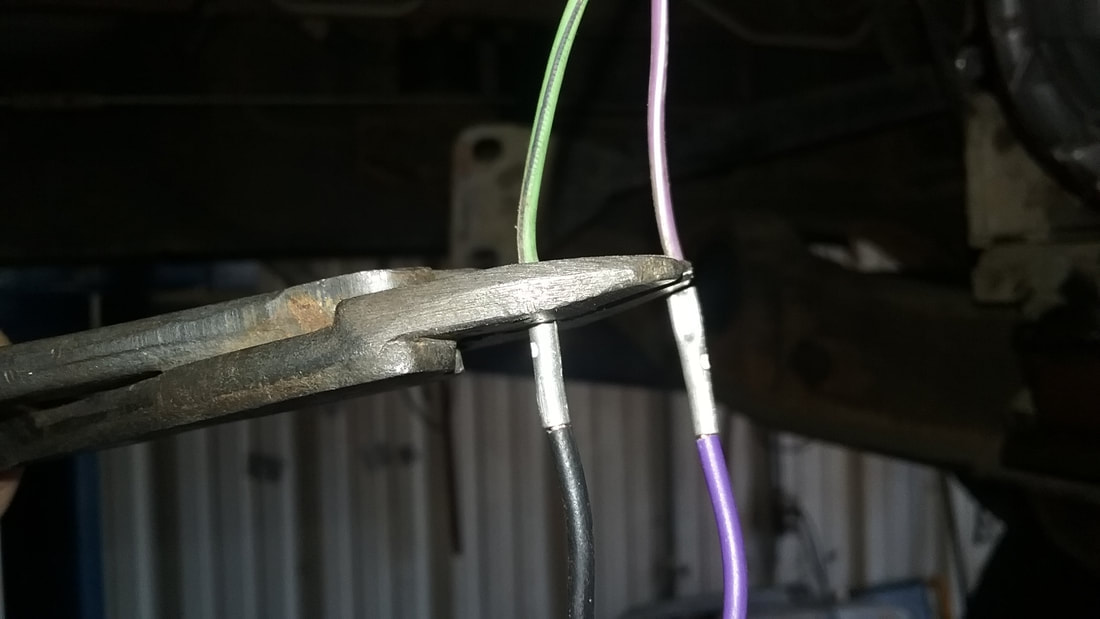
The VSS wiring on a 2000 van. light green and purple.
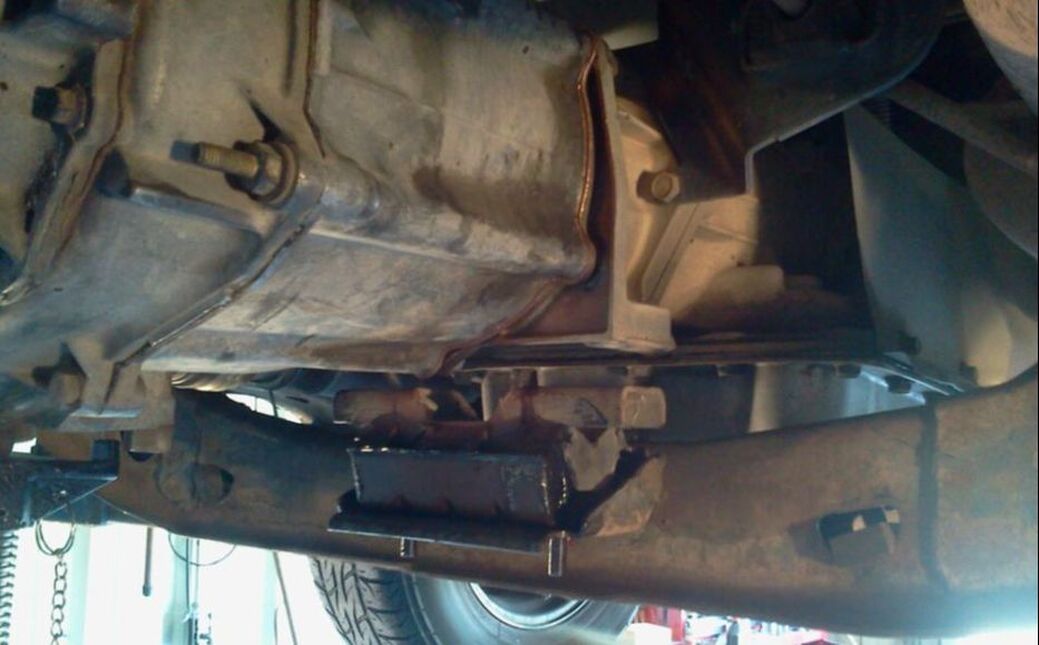
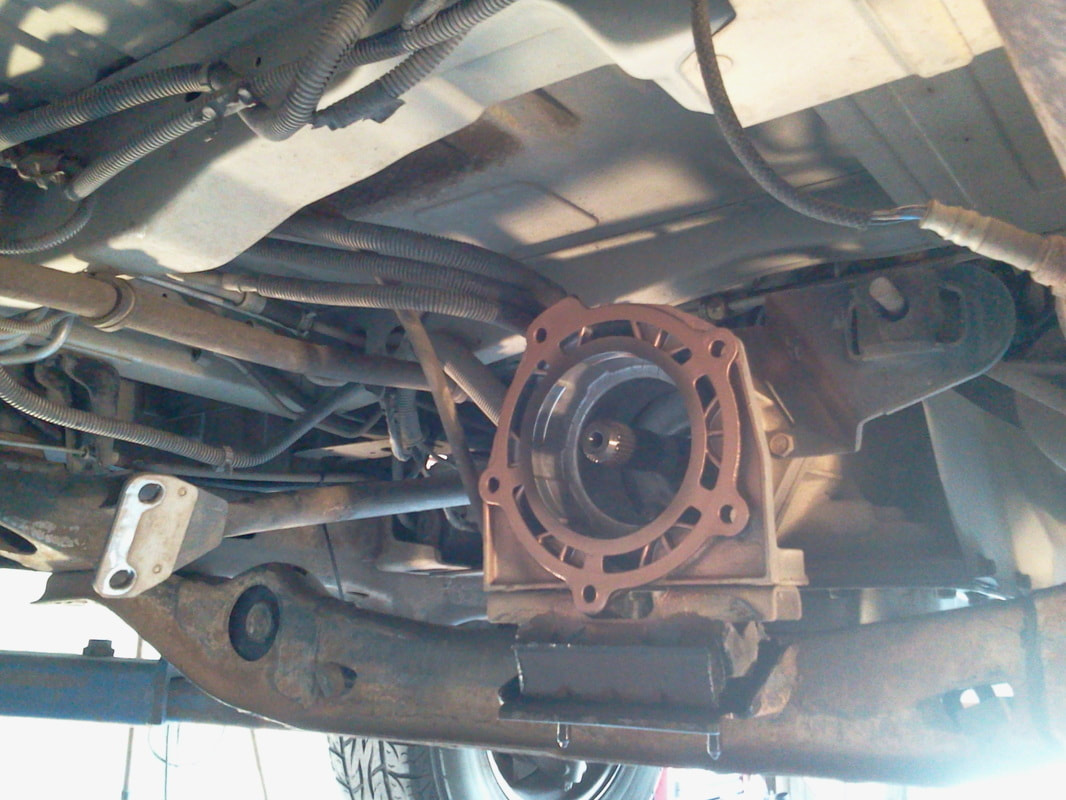
To unbolt the bottom bolt holding the transfercase to the transmission, the trans mount needs to be removed. After removing the 2 bolts & 2 nuts, jack up the transfercase to remove the mount.
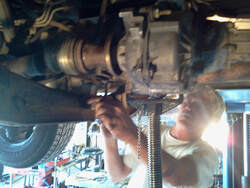
Mike From Journeys Off Road removing the mount to un-bolt the bottom bolt.
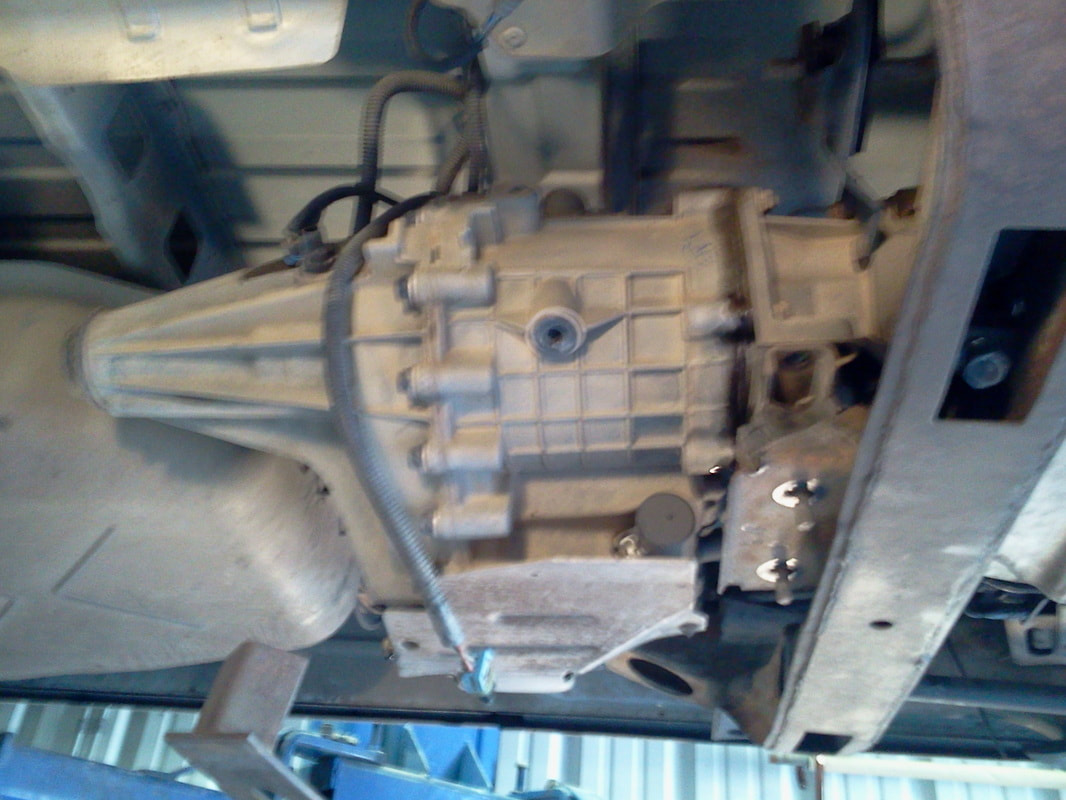
With the mount temporarily back in to support the transmission, don't bolt the mount in, it needs to be removed again to get the bottom bolt back in. At this time, remove the drive shafts, electrical connectors, vent hose and transfercase crash support arm (it wont work with the S10 case). Now the remaining 4 bolts that hold the transfercase to the transmission can be removed. To remove the AWD case from the van, a transmission jack is handy, but one big or two regular guys can easily slide the old case off and then back on the transmission spline.
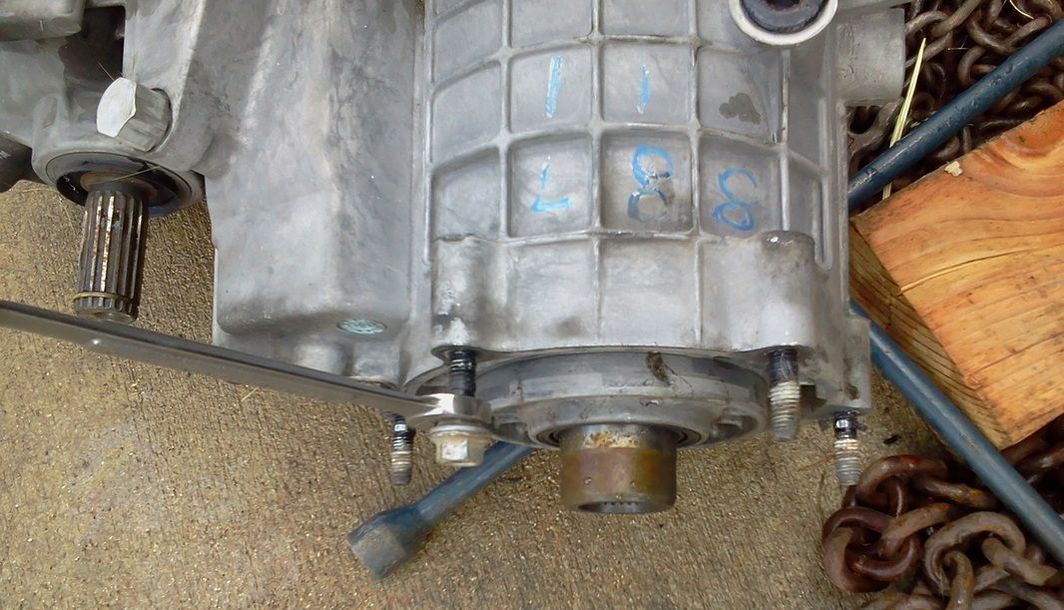
With the old AWD transfercase out of the van, remove the old gaskets and clean any residue off the transfercase and transmission, then install and seal with RTV or gasket sealer, the new gasket supplied with the Journeys Off Road 4x4 Conversion Kit.
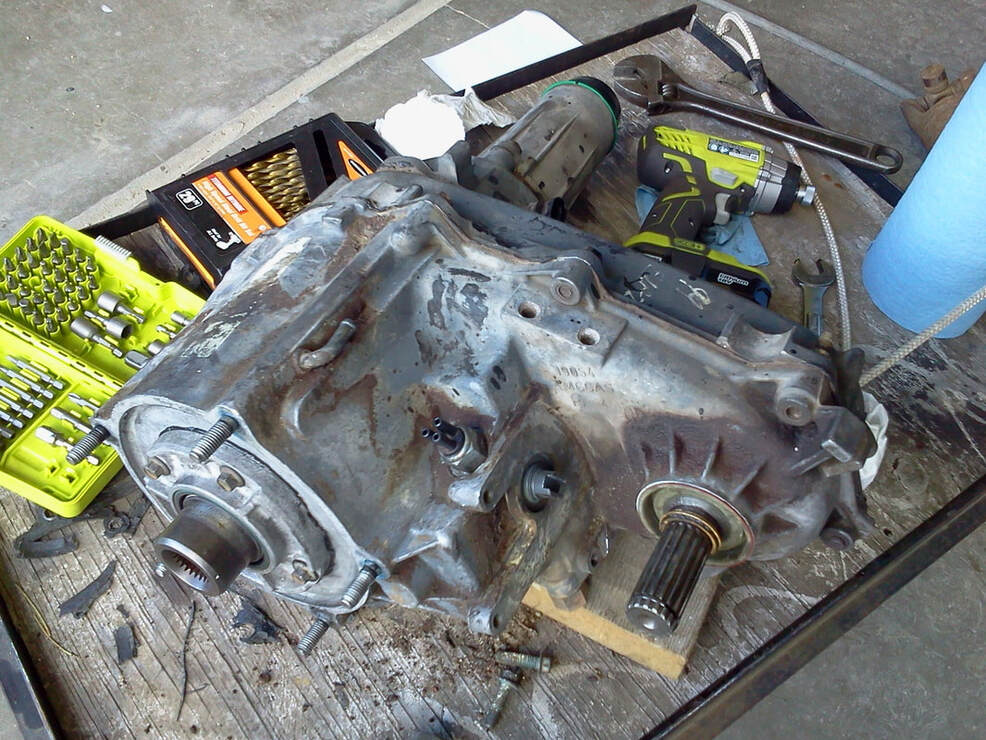
The S10 transfercase was missing the mounting studs, not sure why. But two nuts jammed, makes easy work out of removing the mounting studs from the old AWD case, without damaging the needed studs.
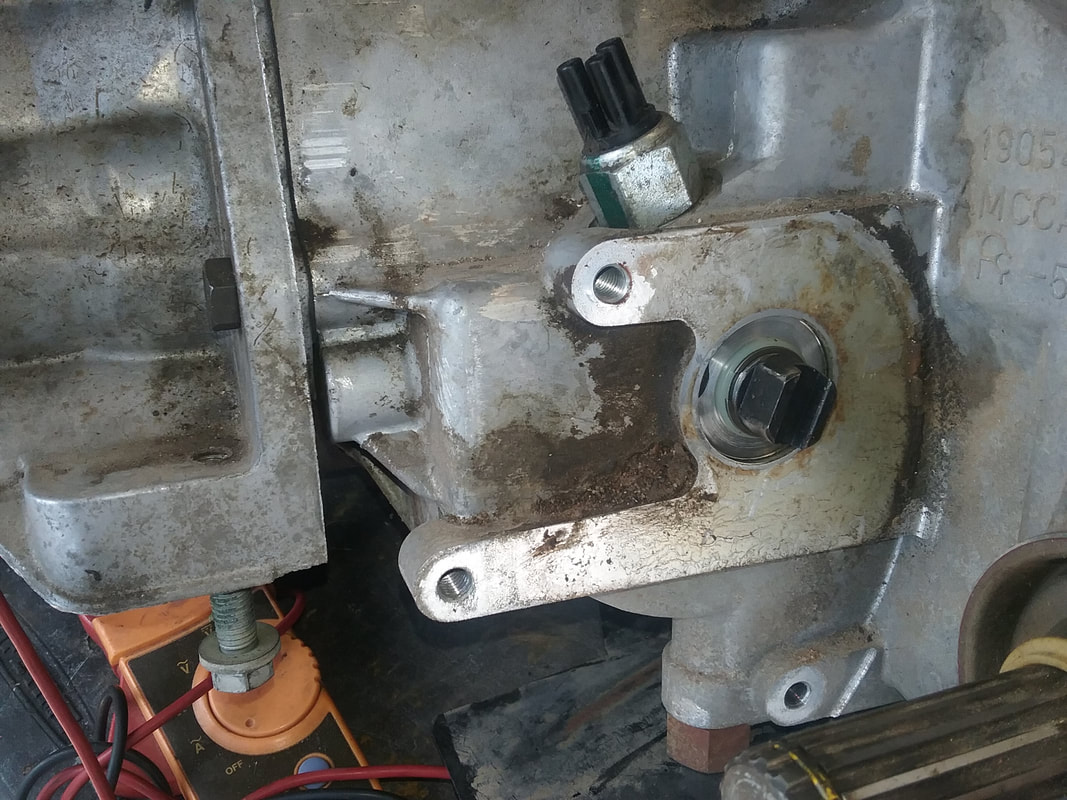
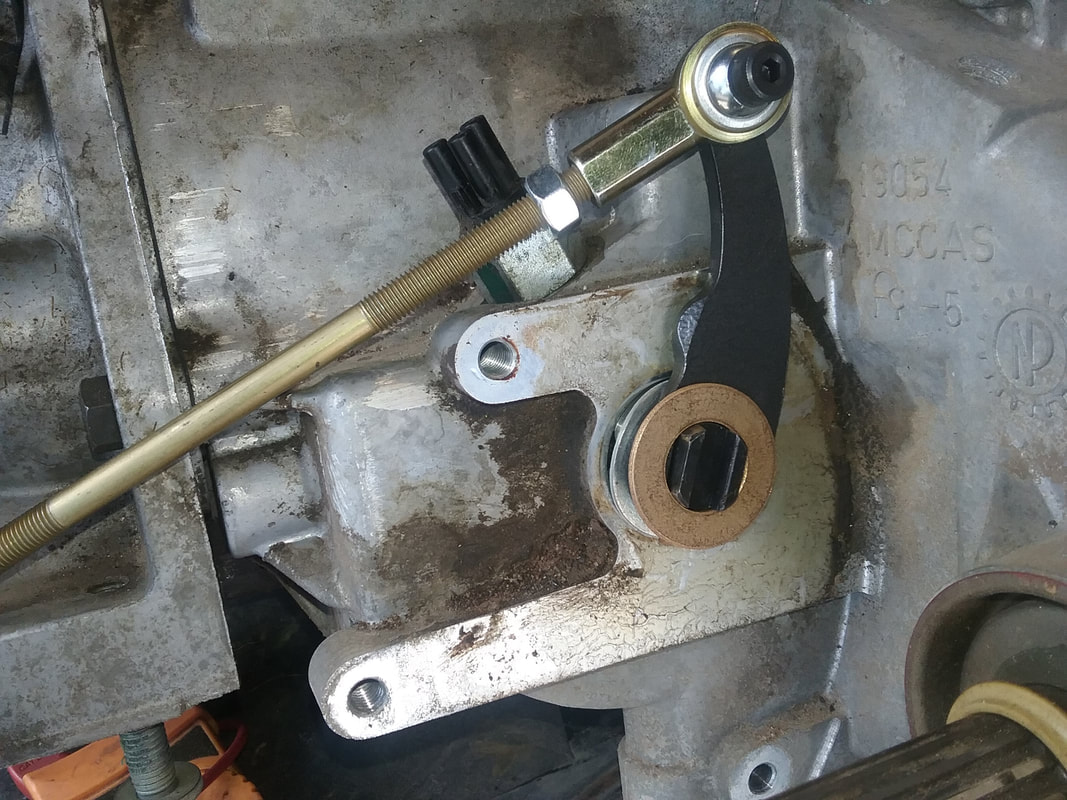
First remove the shift motor.
Spring washer first.
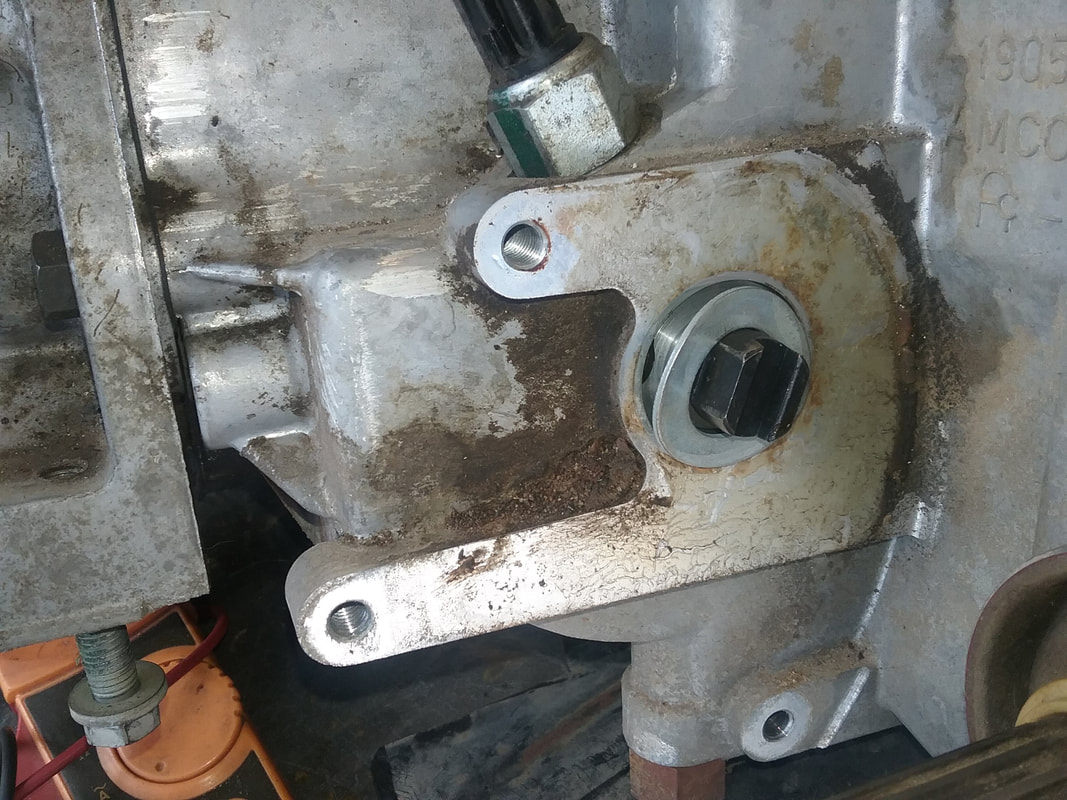
Shifter arm next followed by bronzes thrust washer.
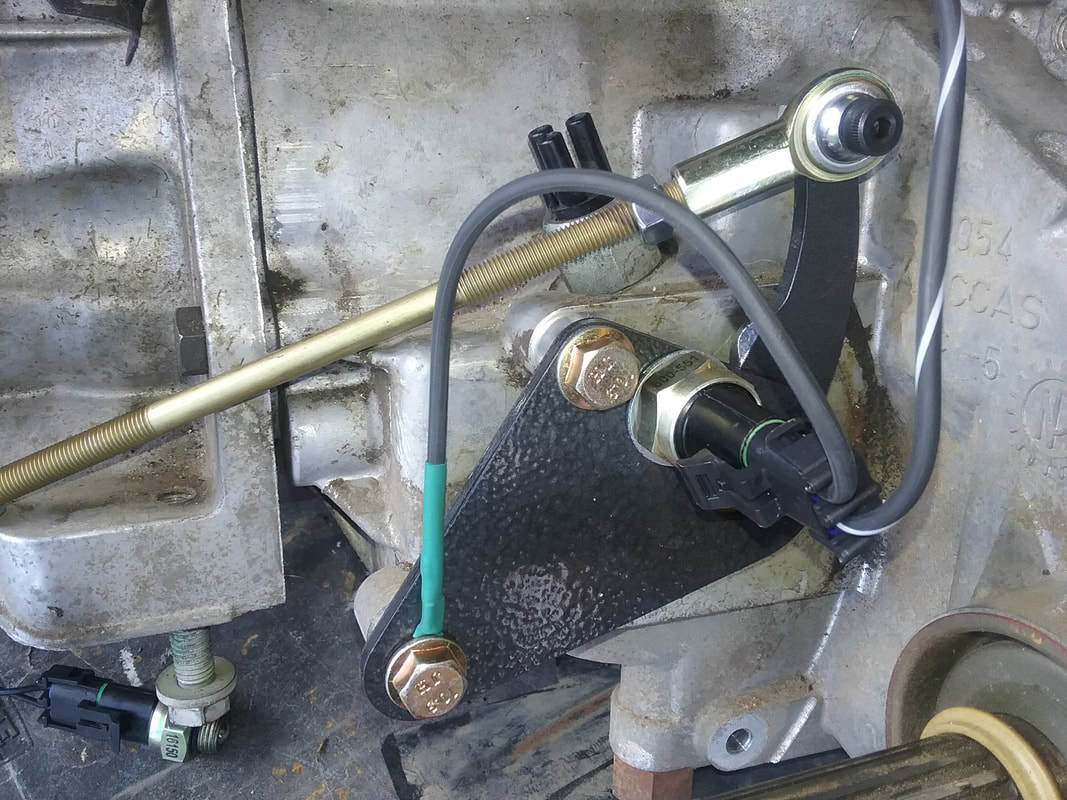
Install the retainer plate with the two aluminum spacer between T-case and plate. Use loctite on the retainer plate bolts.
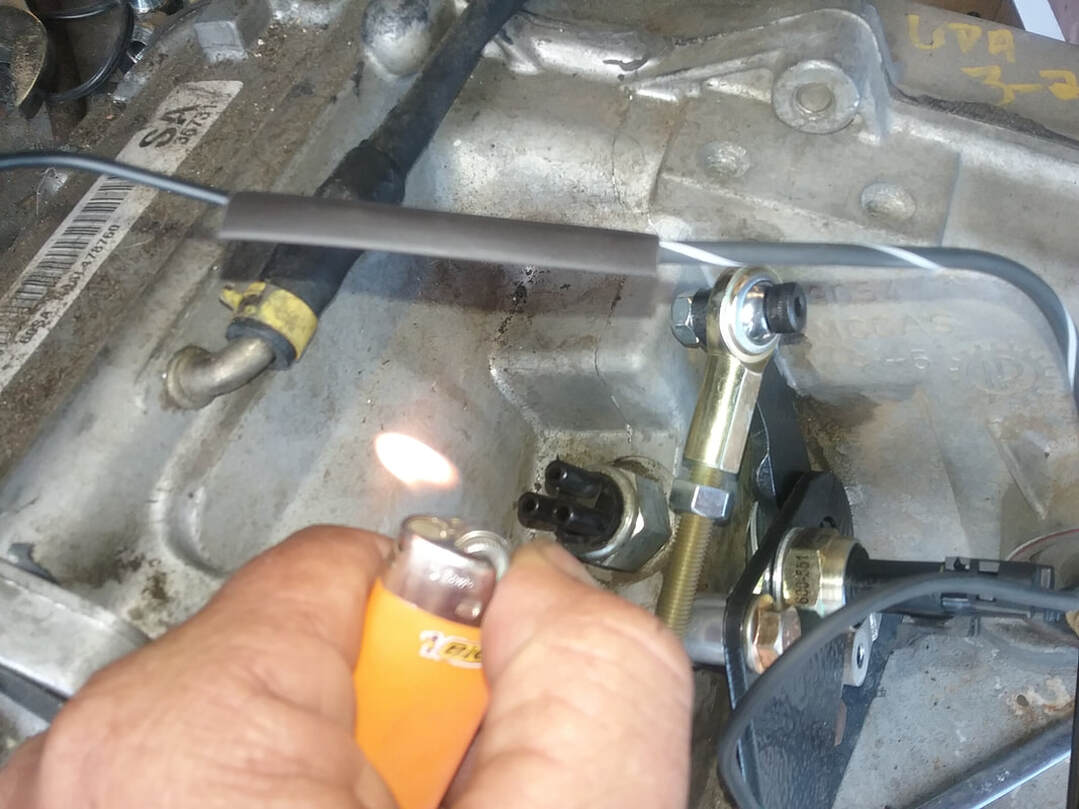
Install the new VSS connector by cutting the stock AWD connector off, strip the wires back 1/4", use the crimp type couplers and heat shrink tubing supplied with the Journeys Off Road 4x4 Conversion Kit.
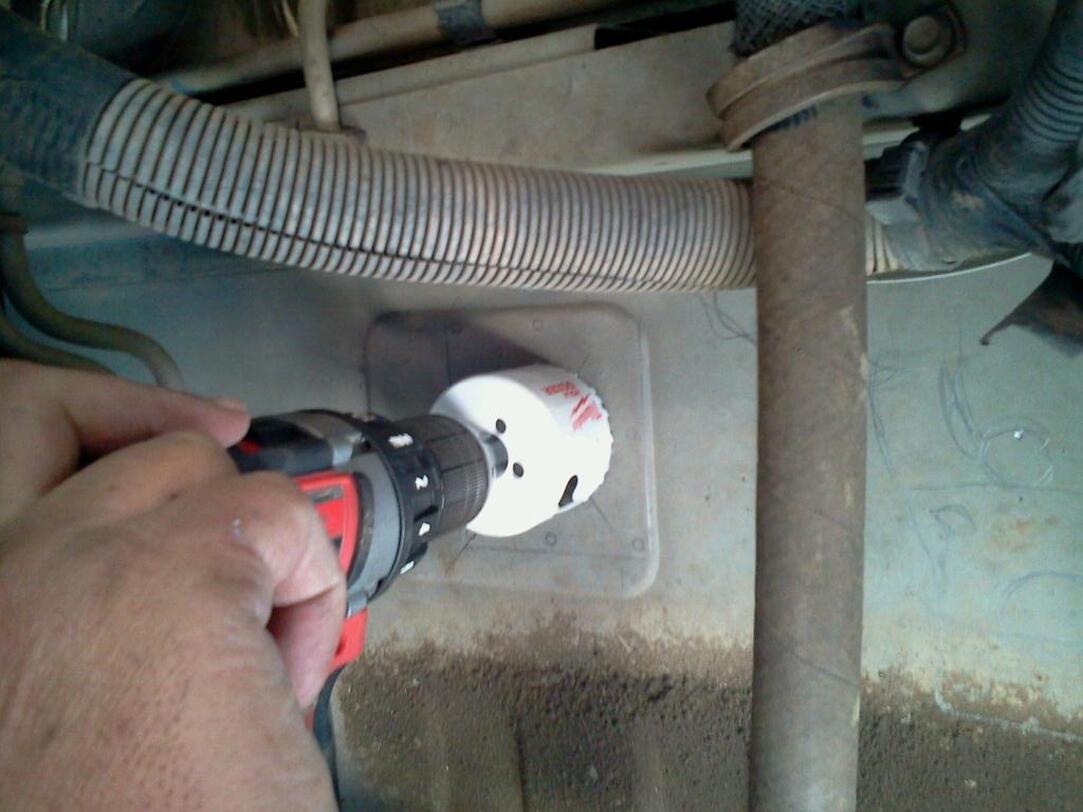
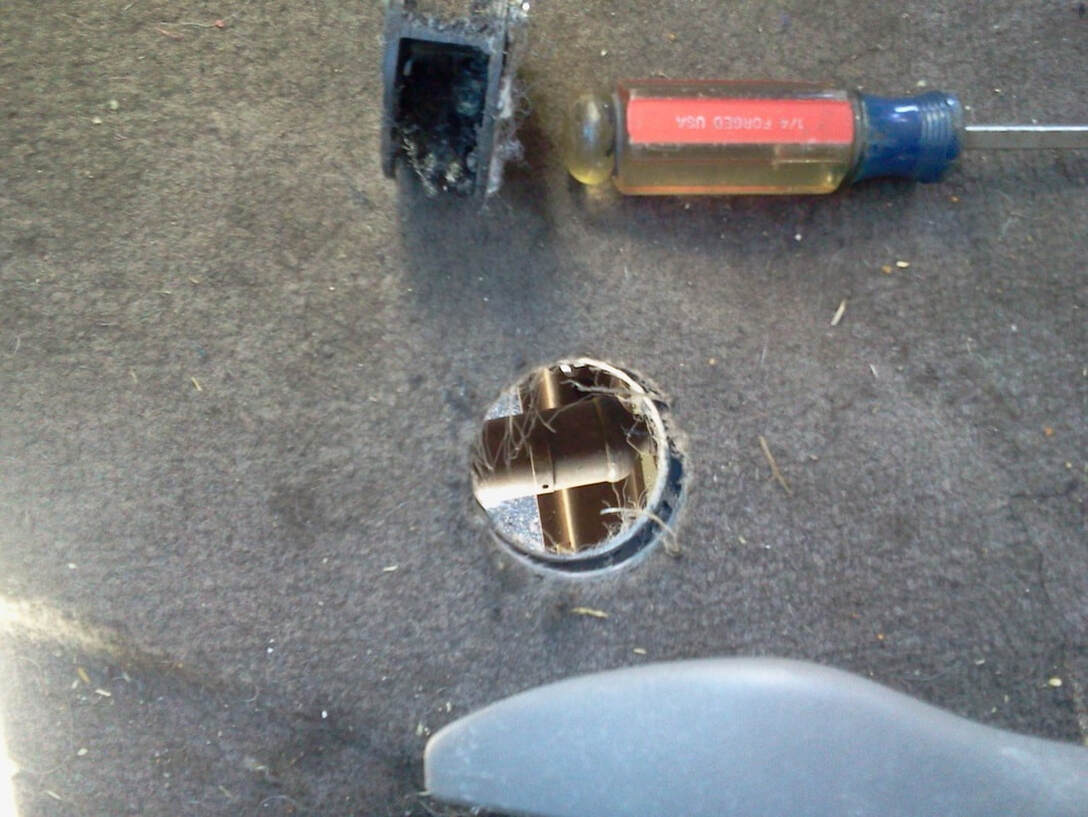
Drill straight up thru the floor and carpet with a 2 1/2 hole saw, next to the drivers seat is a stamping in the floor pan where the floor shifter mounted on the early 2WD models. Don't forget your safety glasses, chips will be falling on your face.
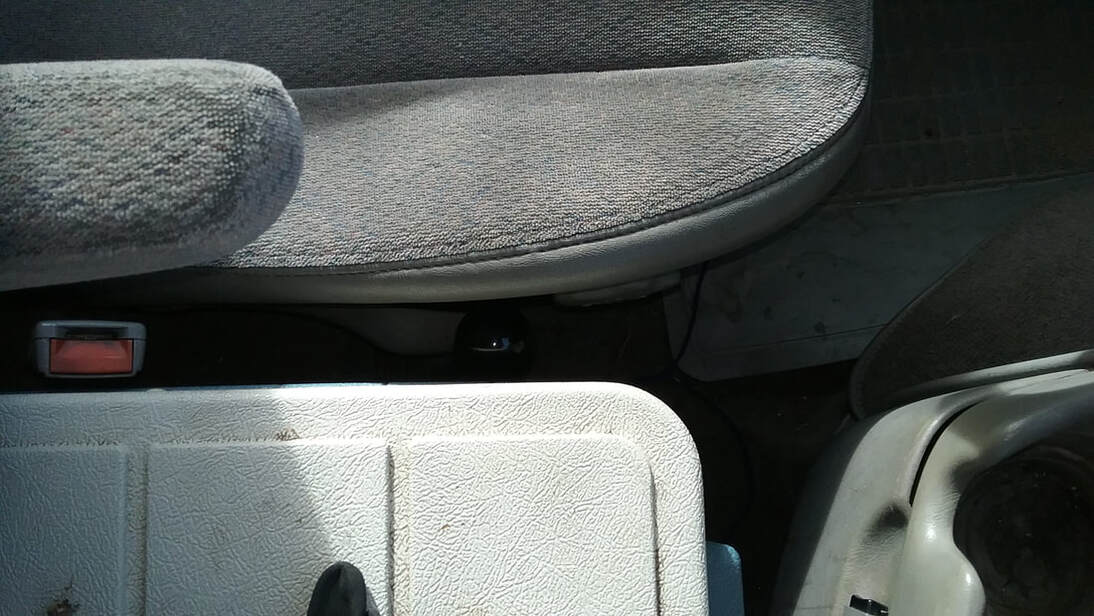
And my cooler still fits in between the seats!
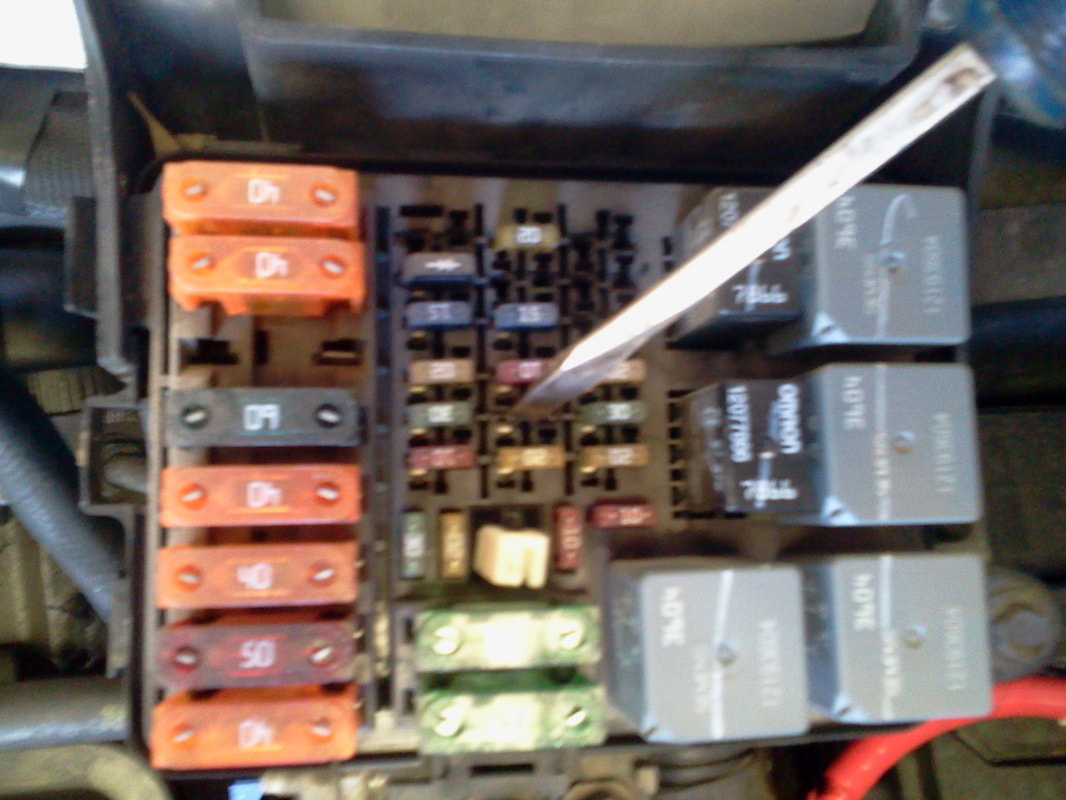
Remove and discard the fuse to the AWD computer on the 1998 to 2005 models.
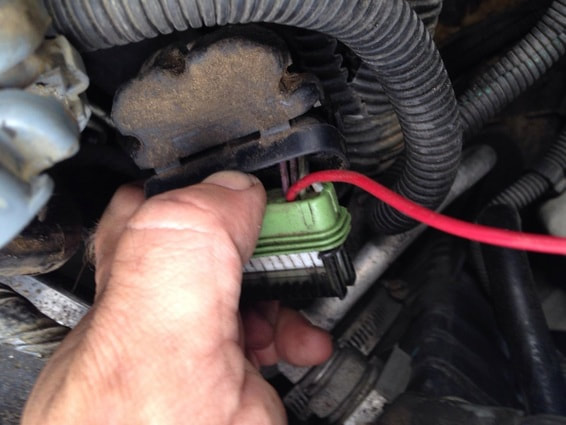
The kit comes with the wiring to tell the computer that you are in low range. It changes the shift points, so that the transmission will shift gears in low range.
Connecting the 4 low range wiring to the PCM.
The kit comes with the PMC pin pre-soldered to the wire.
Connecting the 4 low range wiring to the PCM.
The kit comes with the PMC pin pre-soldered to the wire.
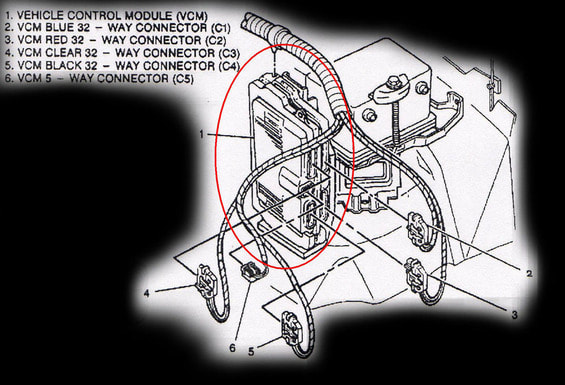
On the 1996 to 2000 the low range wire connects to the PCM in the connector C4 (Black) pin 23.
Connector C4 is on the bottom left of the PCM, looking at it from the front of the van. It's marked with the number 5 on the diagram to confuse you.
Connector C4 is on the bottom left of the PCM, looking at it from the front of the van. It's marked with the number 5 on the diagram to confuse you.

On the 2001 to 2005 the low range wire connects to the PCM in the connector 2 pin 16.
Connector 2 is ether red or green.
Connector 1 is blue.
Connector 2 is ether red or green.
Connector 1 is blue.

