2004 - 2020 AWD Toyota sienna - Install Instructions
Front Lift
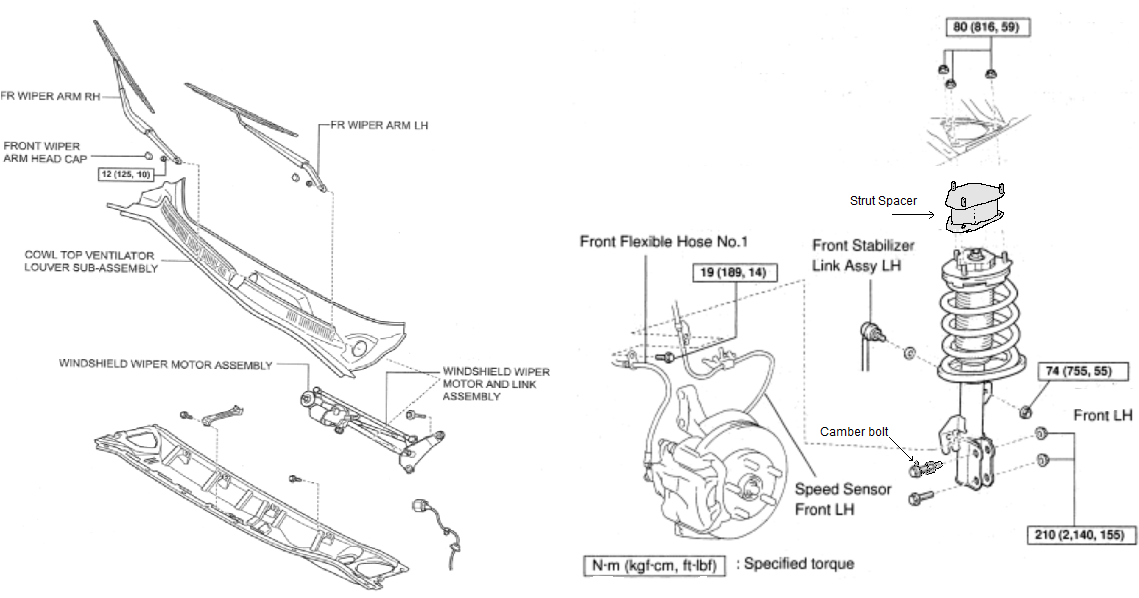
You must remove the cowl and wiper motor assy. before you can get access to the strut mount nuts that hold the strut to the strut tower. The wiper blades are press fit, so you may need battery/wiper removal tool to get them off. Be sure to mark the wiper arms and posts so you know how they are aligned when you put them back on. Remove the wiper arm nut caps, unfasten the nuts and remove the wiper arms. Remove the hood to cowl top seal and the cowl panel hole cover. Remove the clip and cowl top ventilator louver, disconnect the washer hose from the louver. Remove the washer nozzle from the cowl top ventilator louver. Remove the washer nozzle from the cowl top ventilator lover. Remove the cowl panel and unplug the wiper motor connector. Unfasten the bolts and remove the wiper motor and link assembly.
You must remove the cowl and wiper motor assy. before you can get access to the strut mount nuts that hold the strut to the strut tower. The wiper blades are press fit, so you may need battery/wiper removal tool to get them off. Be sure to mark the wiper arms and posts so you know how they are aligned when you put them back on. Remove the wiper arm nut caps, unfasten the nuts and remove the wiper arms. Remove the hood to cowl top seal and the cowl panel hole cover. Remove the clip and cowl top ventilator louver, disconnect the washer hose from the louver. Remove the washer nozzle from the cowl top ventilator louver. Remove the washer nozzle from the cowl top ventilator lover. Remove the cowl panel and unplug the wiper motor connector. Unfasten the bolts and remove the wiper motor and link assembly.
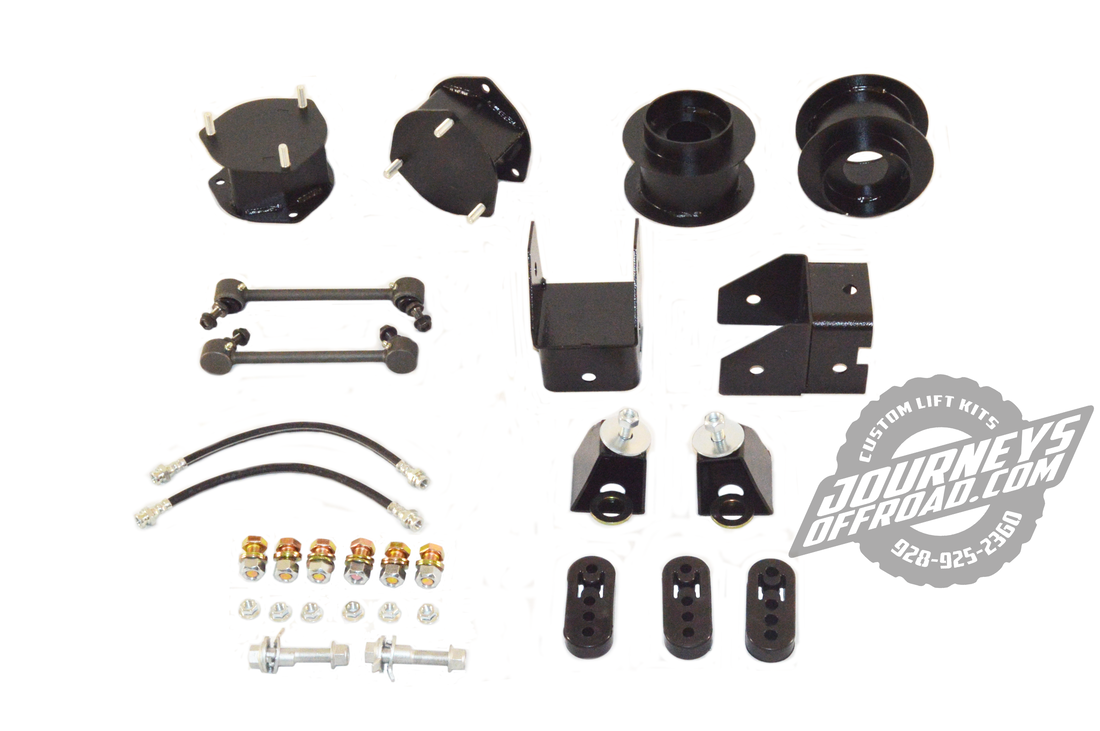
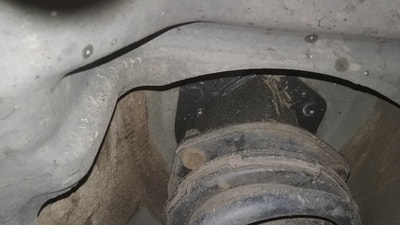
With the vehicle Safely on jack stands, remove the front wheels, sway bar links, brake hose and anti-lock brake cable from the housing. They are just fitted into notches. Remove the caliper and router loosen the strut clamp bolts and nuts from the spindle. The brake hose will still be attached to the caliper, do not let them hang by the hose. Support the lower control arm at the bottom with a jack. Take off the 3 nuts on the top of the strut mount, (do not remove the large nut on top of the strut) and slowly lower the strut from the top of the tower. Then remove the strut, with the strut removed install the strut spacer on the strut. Reassemble with the camber bolt in the top hole and replace the sway bar end links with the shorter links supplied in the kit. A alignment is required.
Rear Lift
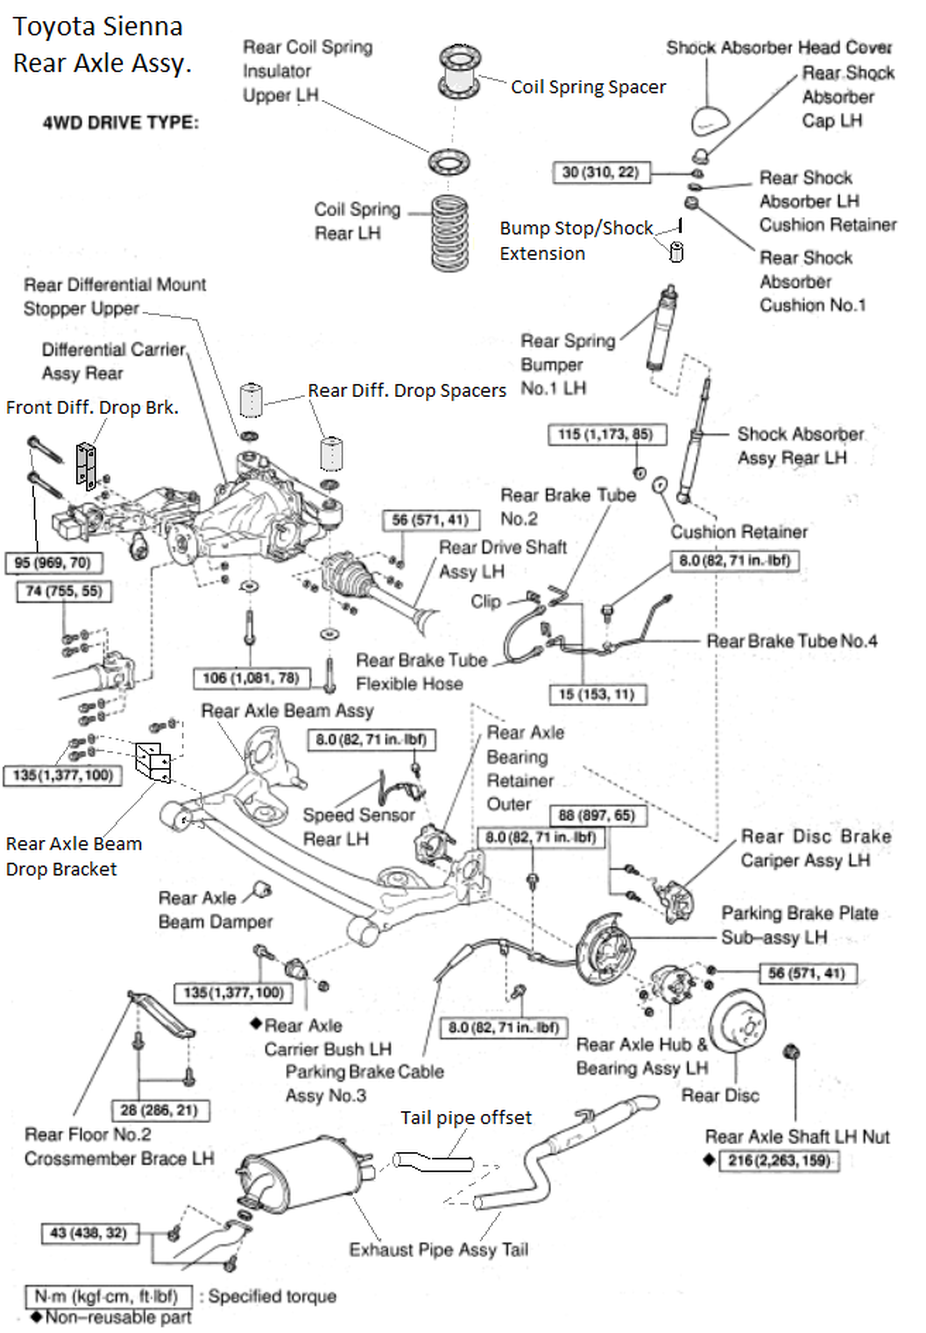
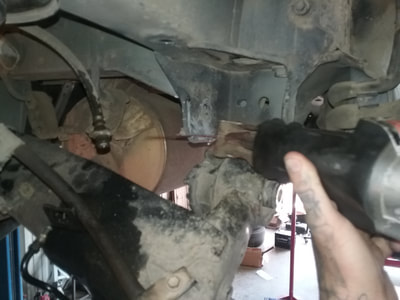
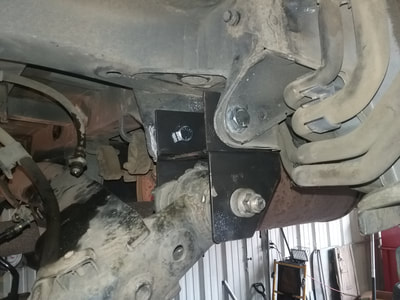
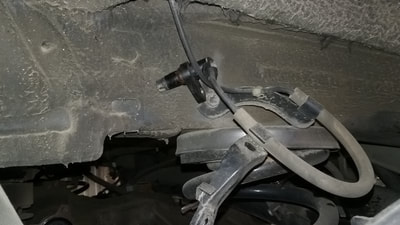
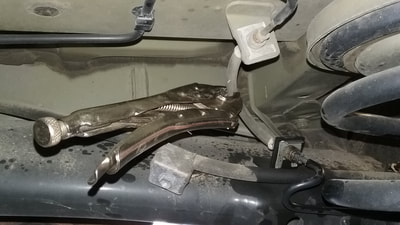
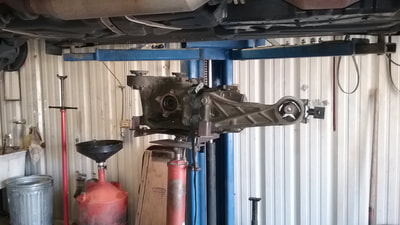
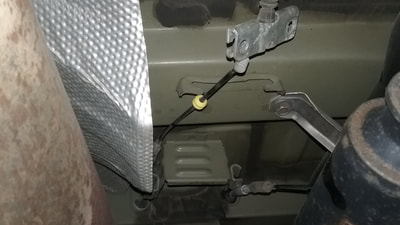
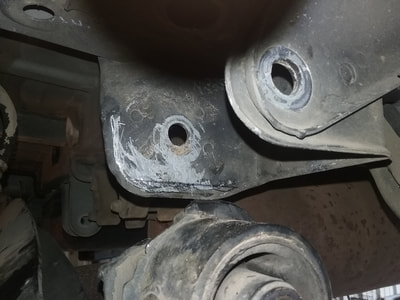
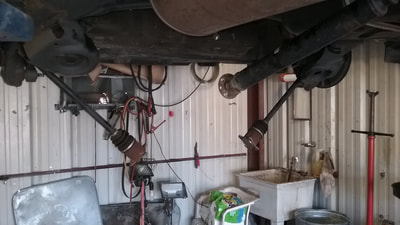
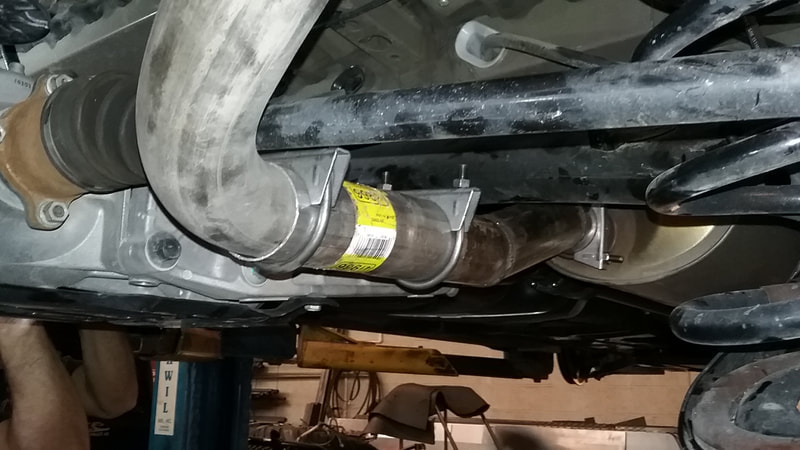
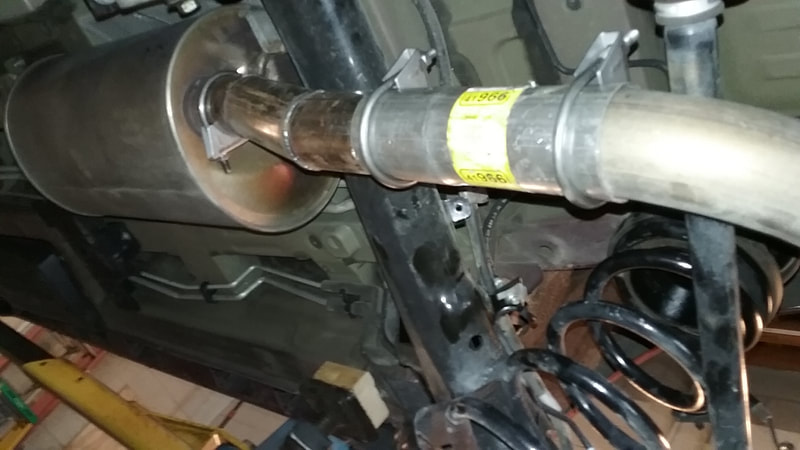
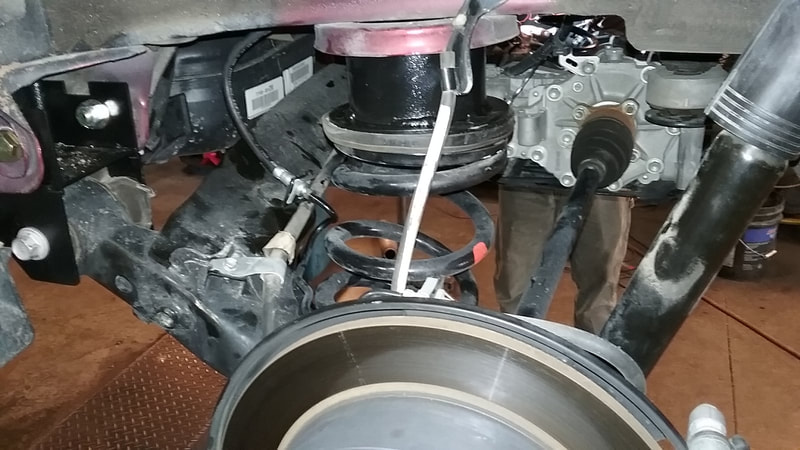
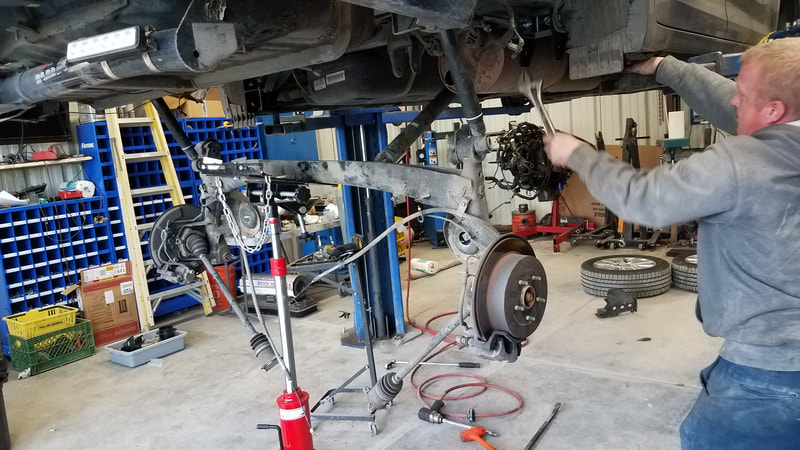
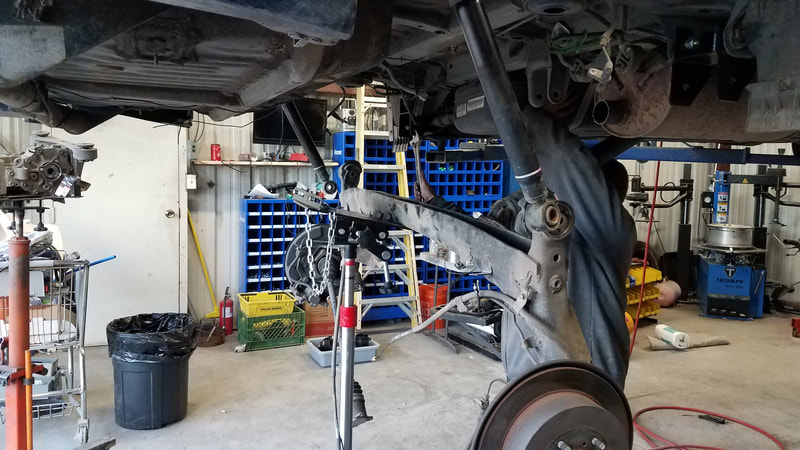
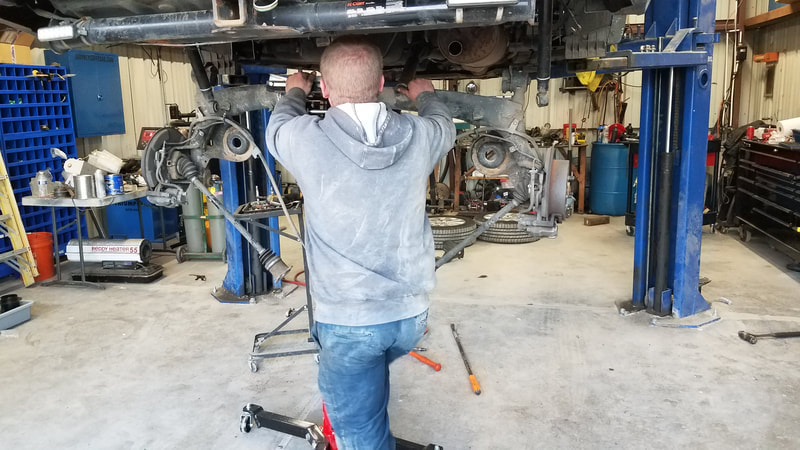
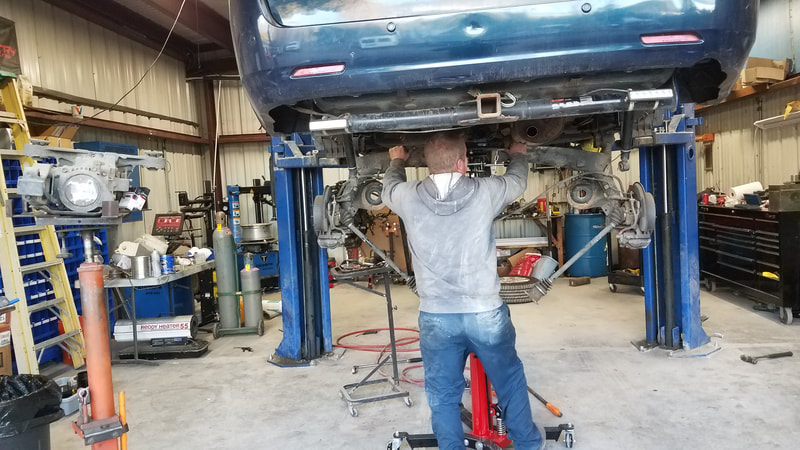
Remove the rear wheels. On the AWD vans, unbolt the axles and driveshaft from the rear differential and then remove the differential from the van. Remove the ABS speed sensor from the axle end. Disconnect parking brake cables from the body. Remove and discard rear brake flexible hose from axle and body. On the AWD models, with a Sawsall, measure 2"/50mm back from the muffler and cut 10"/250.4mm out of the tailpipe. With a floor jack under coil springs, remove shock absorbers. Lower the axle beam to allow the coil springs to be removed. Loosen both but only remove one axle beam bushing bolt at a time, lower axle beam and cut 1/4"/6.26mm clearance for axle beam drop bracket, then install bracket with the three bolts supplied with the kit and torque to 104 lbs/150 Nm. Mount axle beam into drop bracket and insert axle beam bushing bolt, do not torque down until van is on the ground. then install axle drop bracket on other side. With both axle beam drop brackets installed, place coil spring spacers on top of the coil springs, with the shock/bump stop extensions installed on the shocks. Jack up axle beam under spring and install shocks. install differential using longer bolts, spacers and drop brackets. install axles and drive shaft. Install longer brake hoses and bleed rear brakes. Unbolt the parking brake cable clamps from the axle beam and connect cables to body and adjust. Install ABS speed sensor and tail pipe offset.
Remove the rear wheels. On the AWD vans, unbolt the axles and driveshaft from the rear differential and then remove the differential from the van. Remove the ABS speed sensor from the axle end. Disconnect parking brake cables from the body. Remove and discard rear brake flexible hose from axle and body. On the AWD models, with a Sawsall, measure 2"/50mm back from the muffler and cut 10"/250.4mm out of the tailpipe. With a floor jack under coil springs, remove shock absorbers. Lower the axle beam to allow the coil springs to be removed. Loosen both but only remove one axle beam bushing bolt at a time, lower axle beam and cut 1/4"/6.26mm clearance for axle beam drop bracket, then install bracket with the three bolts supplied with the kit and torque to 104 lbs/150 Nm. Mount axle beam into drop bracket and insert axle beam bushing bolt, do not torque down until van is on the ground. then install axle drop bracket on other side. With both axle beam drop brackets installed, place coil spring spacers on top of the coil springs, with the shock/bump stop extensions installed on the shocks. Jack up axle beam under spring and install shocks. install differential using longer bolts, spacers and drop brackets. install axles and drive shaft. Install longer brake hoses and bleed rear brakes. Unbolt the parking brake cable clamps from the axle beam and connect cables to body and adjust. Install ABS speed sensor and tail pipe offset.
| Sienna Instructions |

